Baked Alaska...or: How I mistook a Cake for a Fish.
Baked Alaska...or: How I mistook a Cake for a Fish.
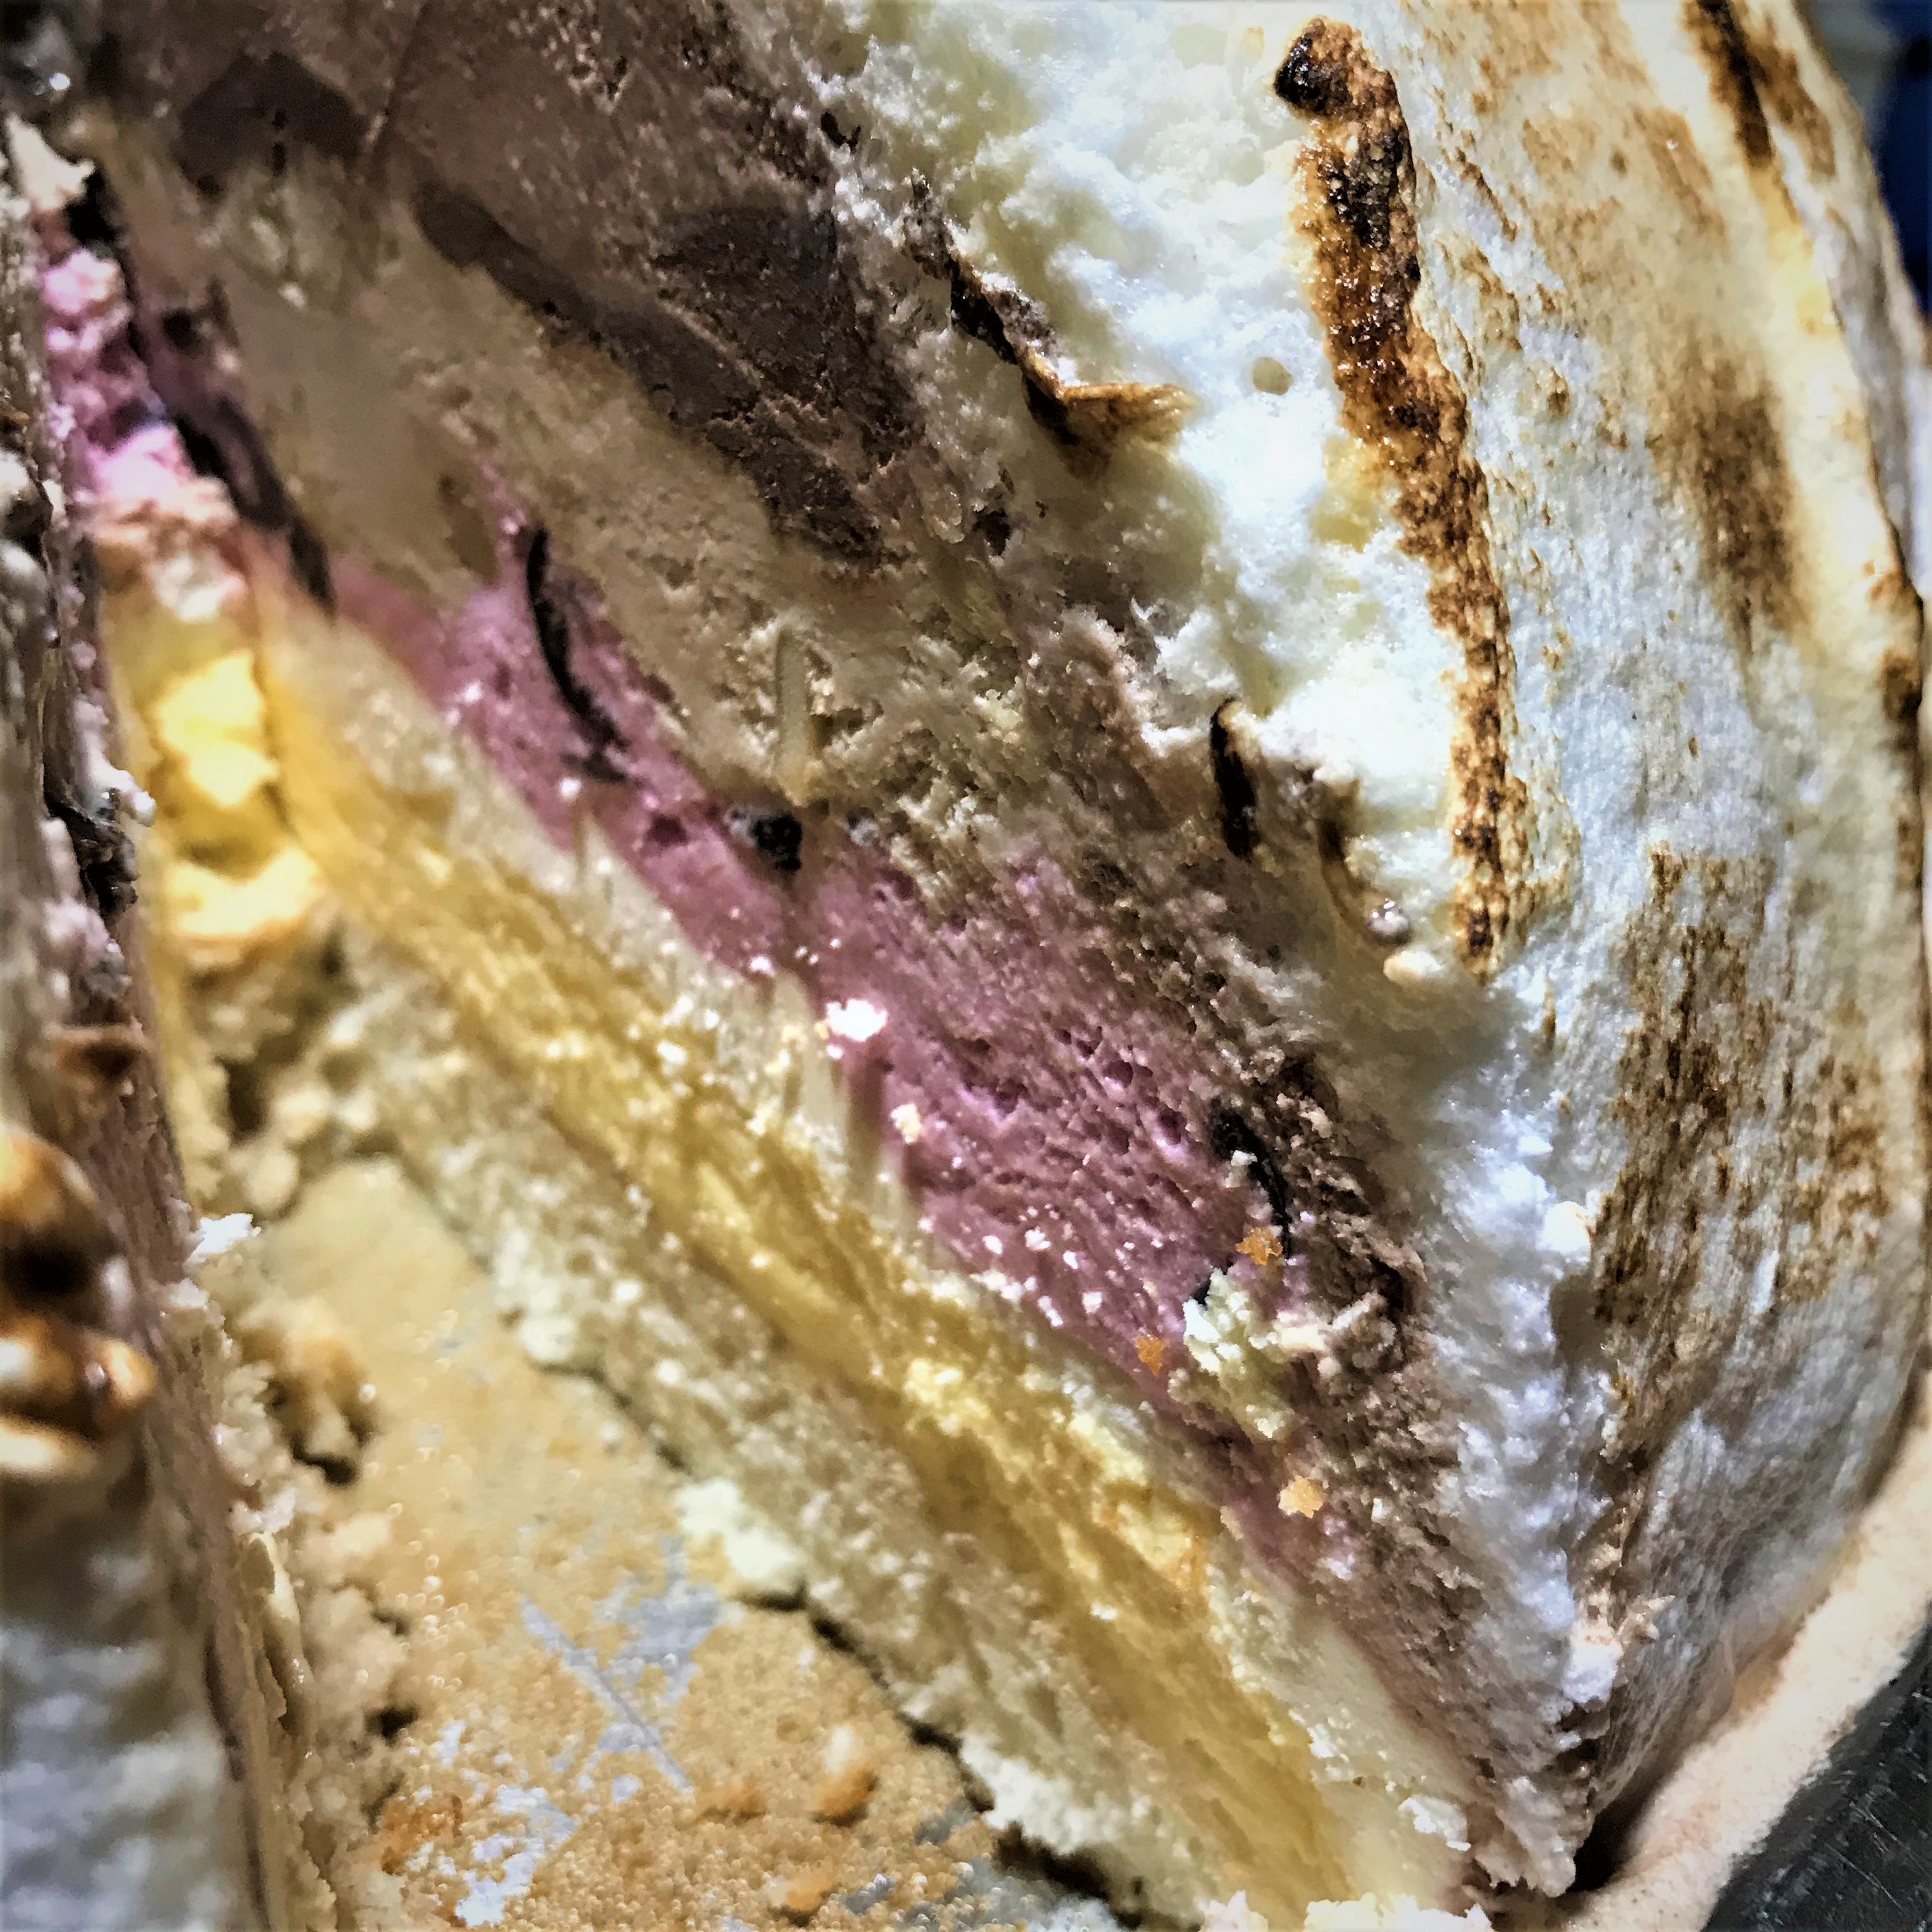
9 layers of goodness, and then you get to drizzle it with hot rum and light it on fire. Worth every bit(e).

Baked Alaska…
I thought it was a fish. Everyone else seemed to know that it was, in fact, an ice cream cake, but for whatever reason, I associated it with a big fish baked slowly in a layer of ground rock salt.
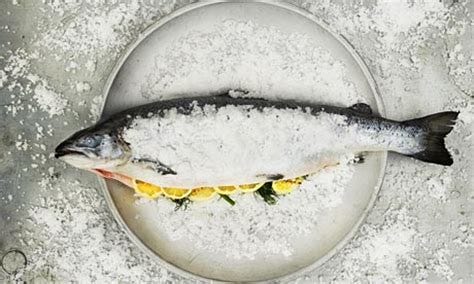
(https://external-content.duckduckgo.com/iu/?u=https%3A%2F%2Ftse1.mm.bing.net%2Fth%3Fid%3DOIP.mSnoNF239ibtCCK6y0iH7AHaEc%26pid%3DApi&f=1)
Once I did figure out what it was, I knew I had to make it. A pizza-pan-sized version with many layers, for New Year’s.
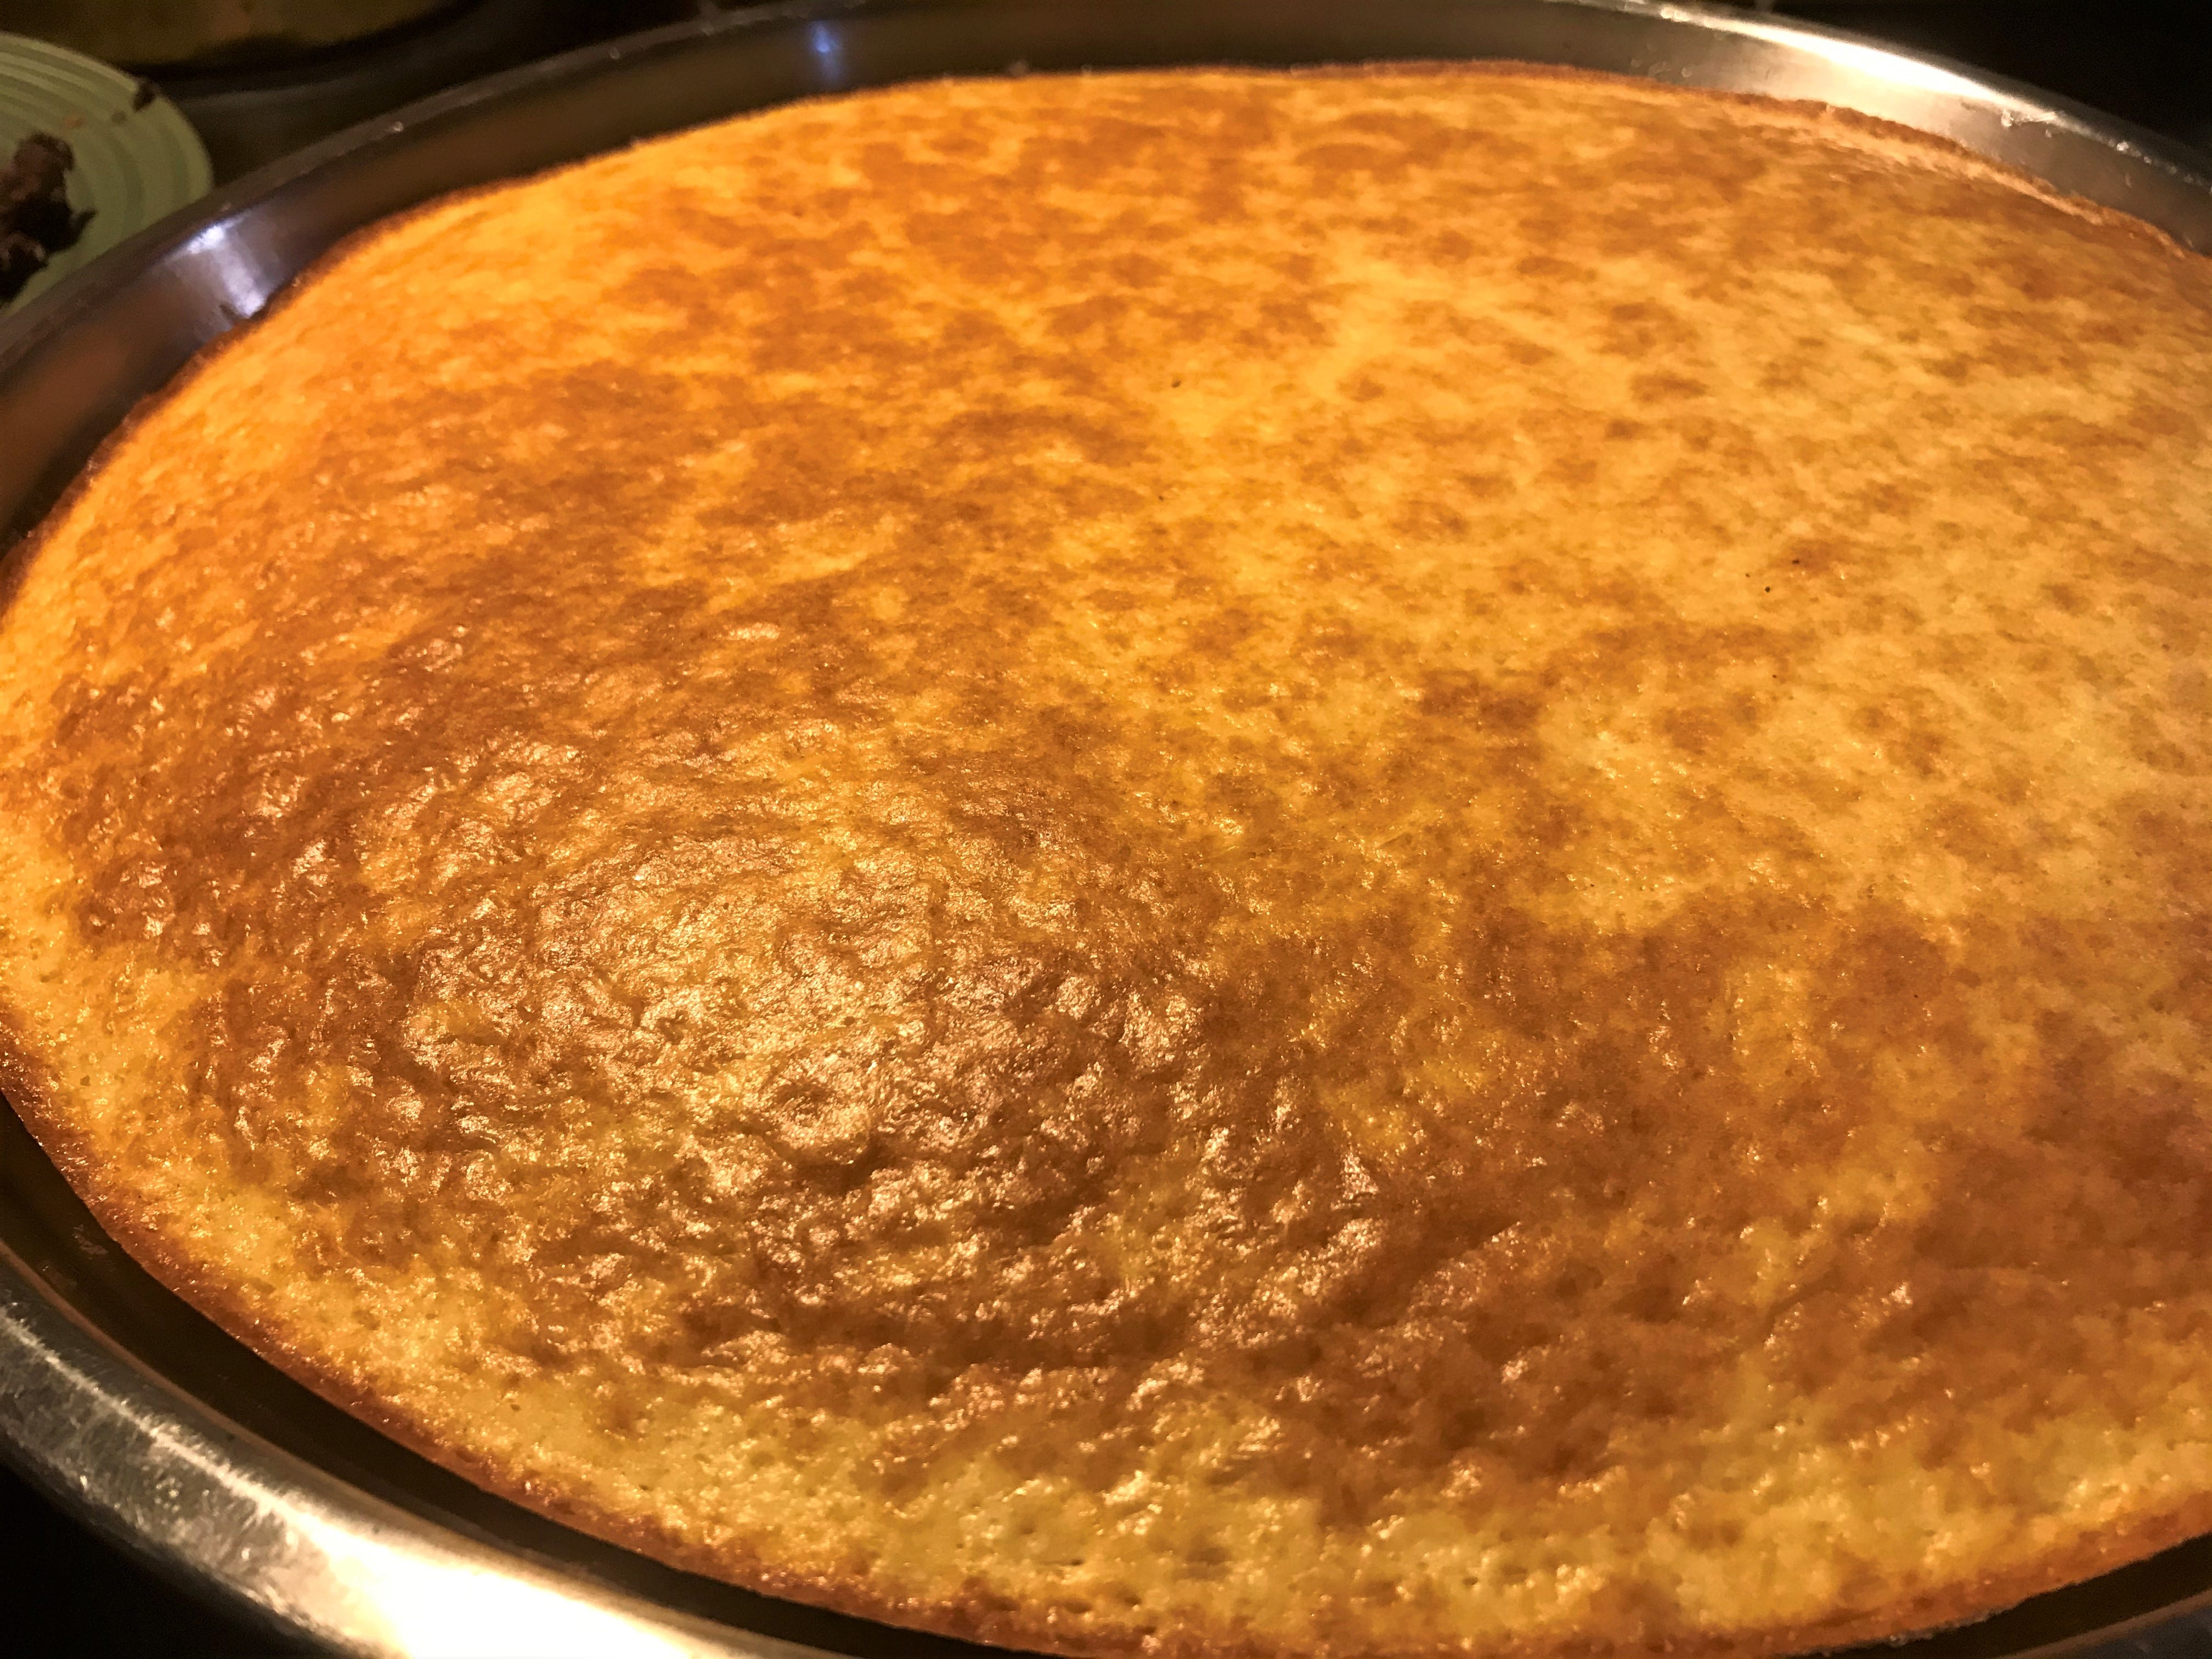
Things were busy, and I like to make things easier when trying something for the first time. So I made up dough from one box of French Vanilla white cake mix, added a full shot of rum for good measure, and greased an 18 inch pizza pan.
It fit perfectly.
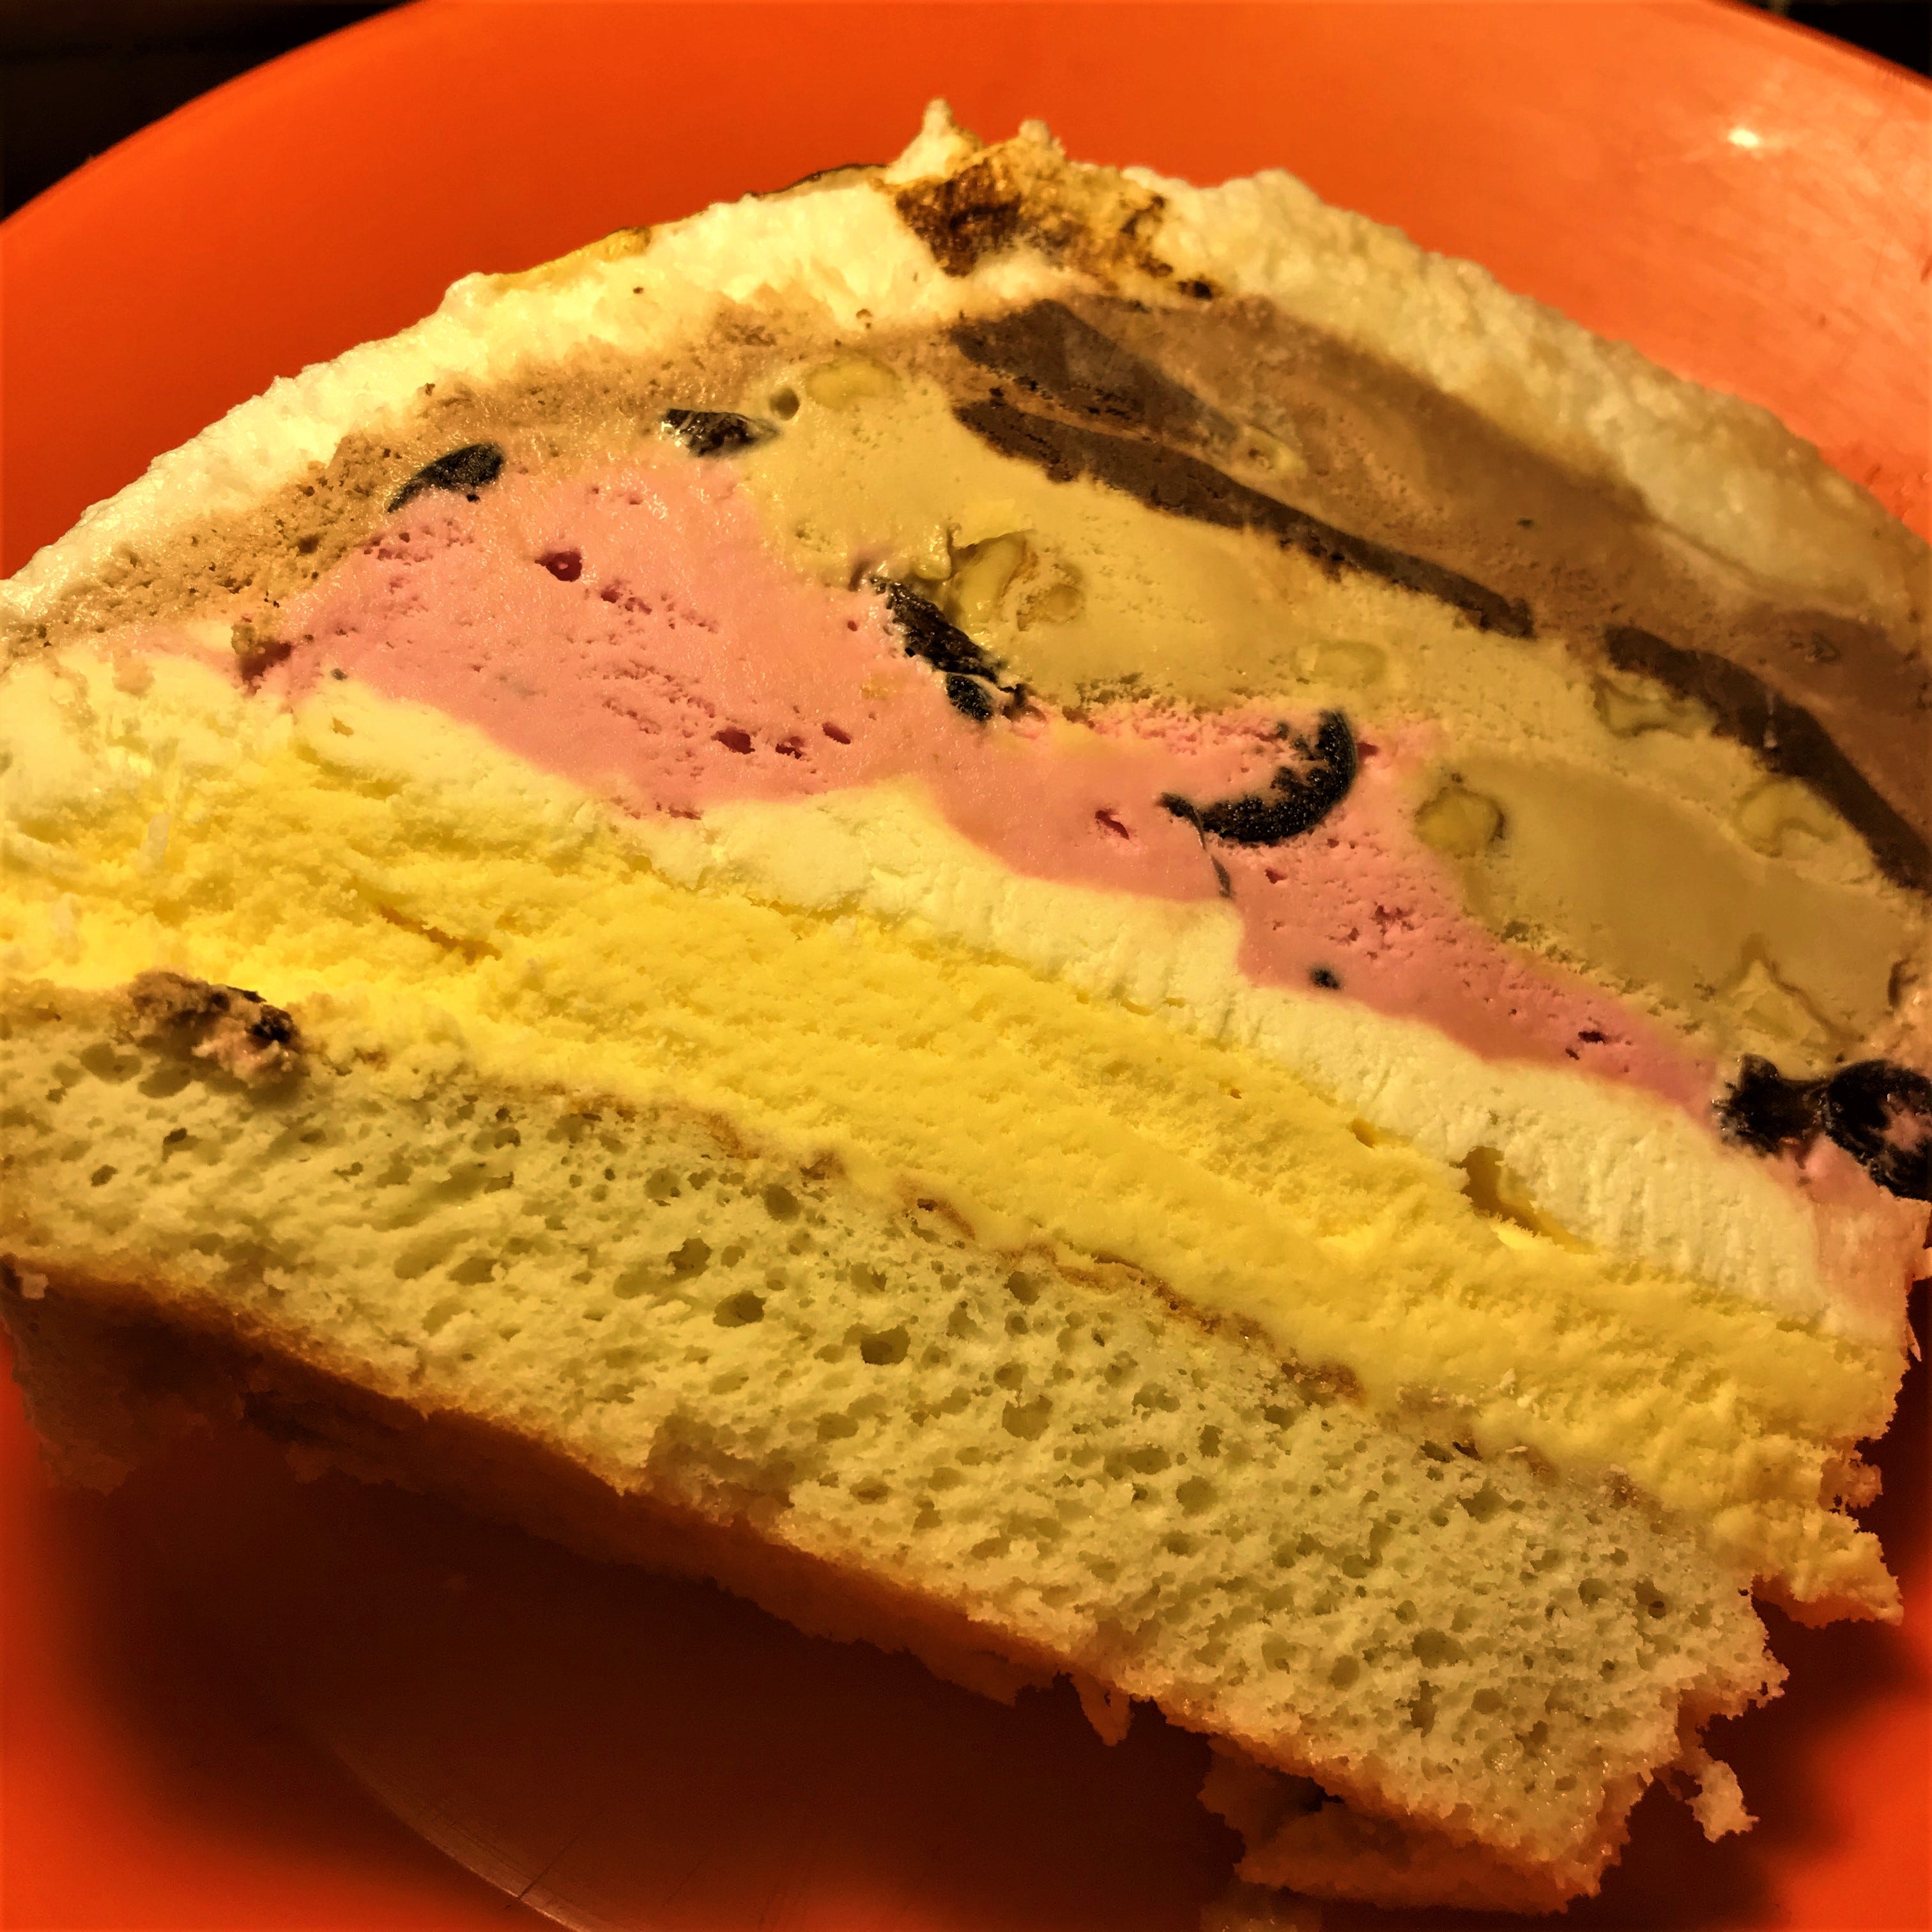
Next, I layered on 2 litres of French Vanilla ice cream and after freezing it back to complete firmness, a layer of 1 liter whipped cream (1 L before whipping).
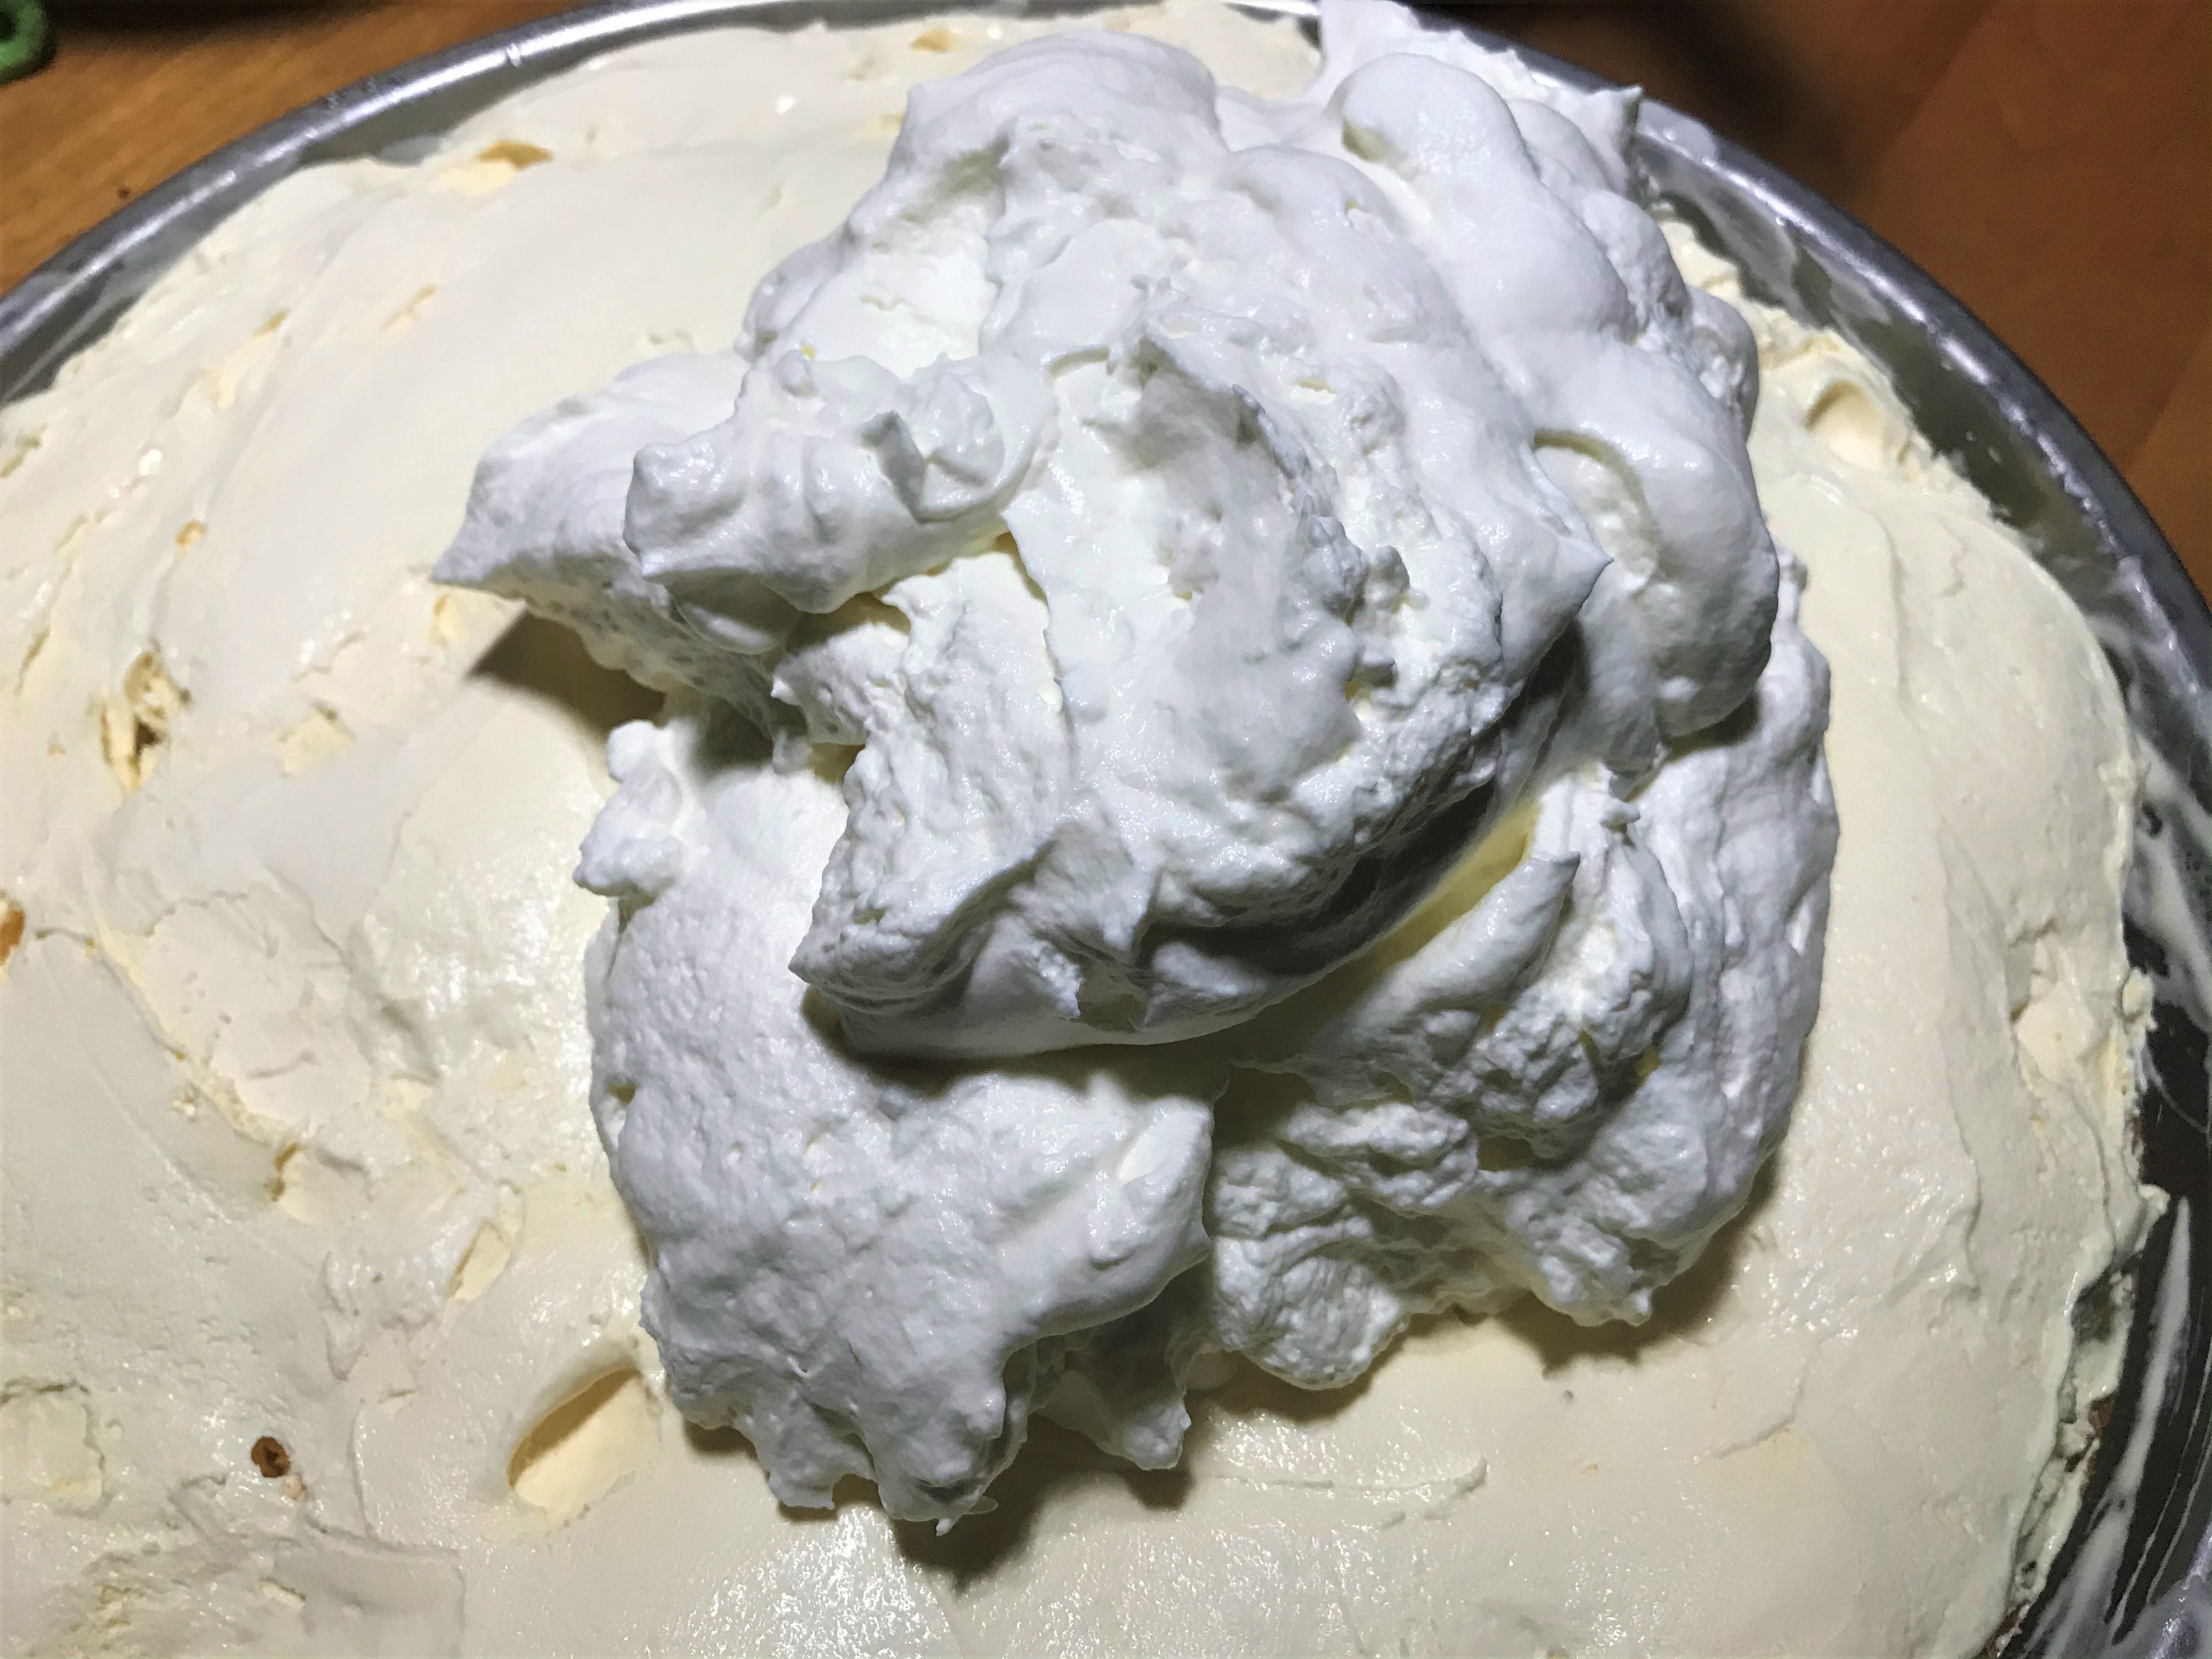
After smoothing out and setting it in the freezer for half an hour, the whipped cream made a firmer layer to give the cake base solidity, and also a creamy layer with a fraction of the sugar in the ice cream.
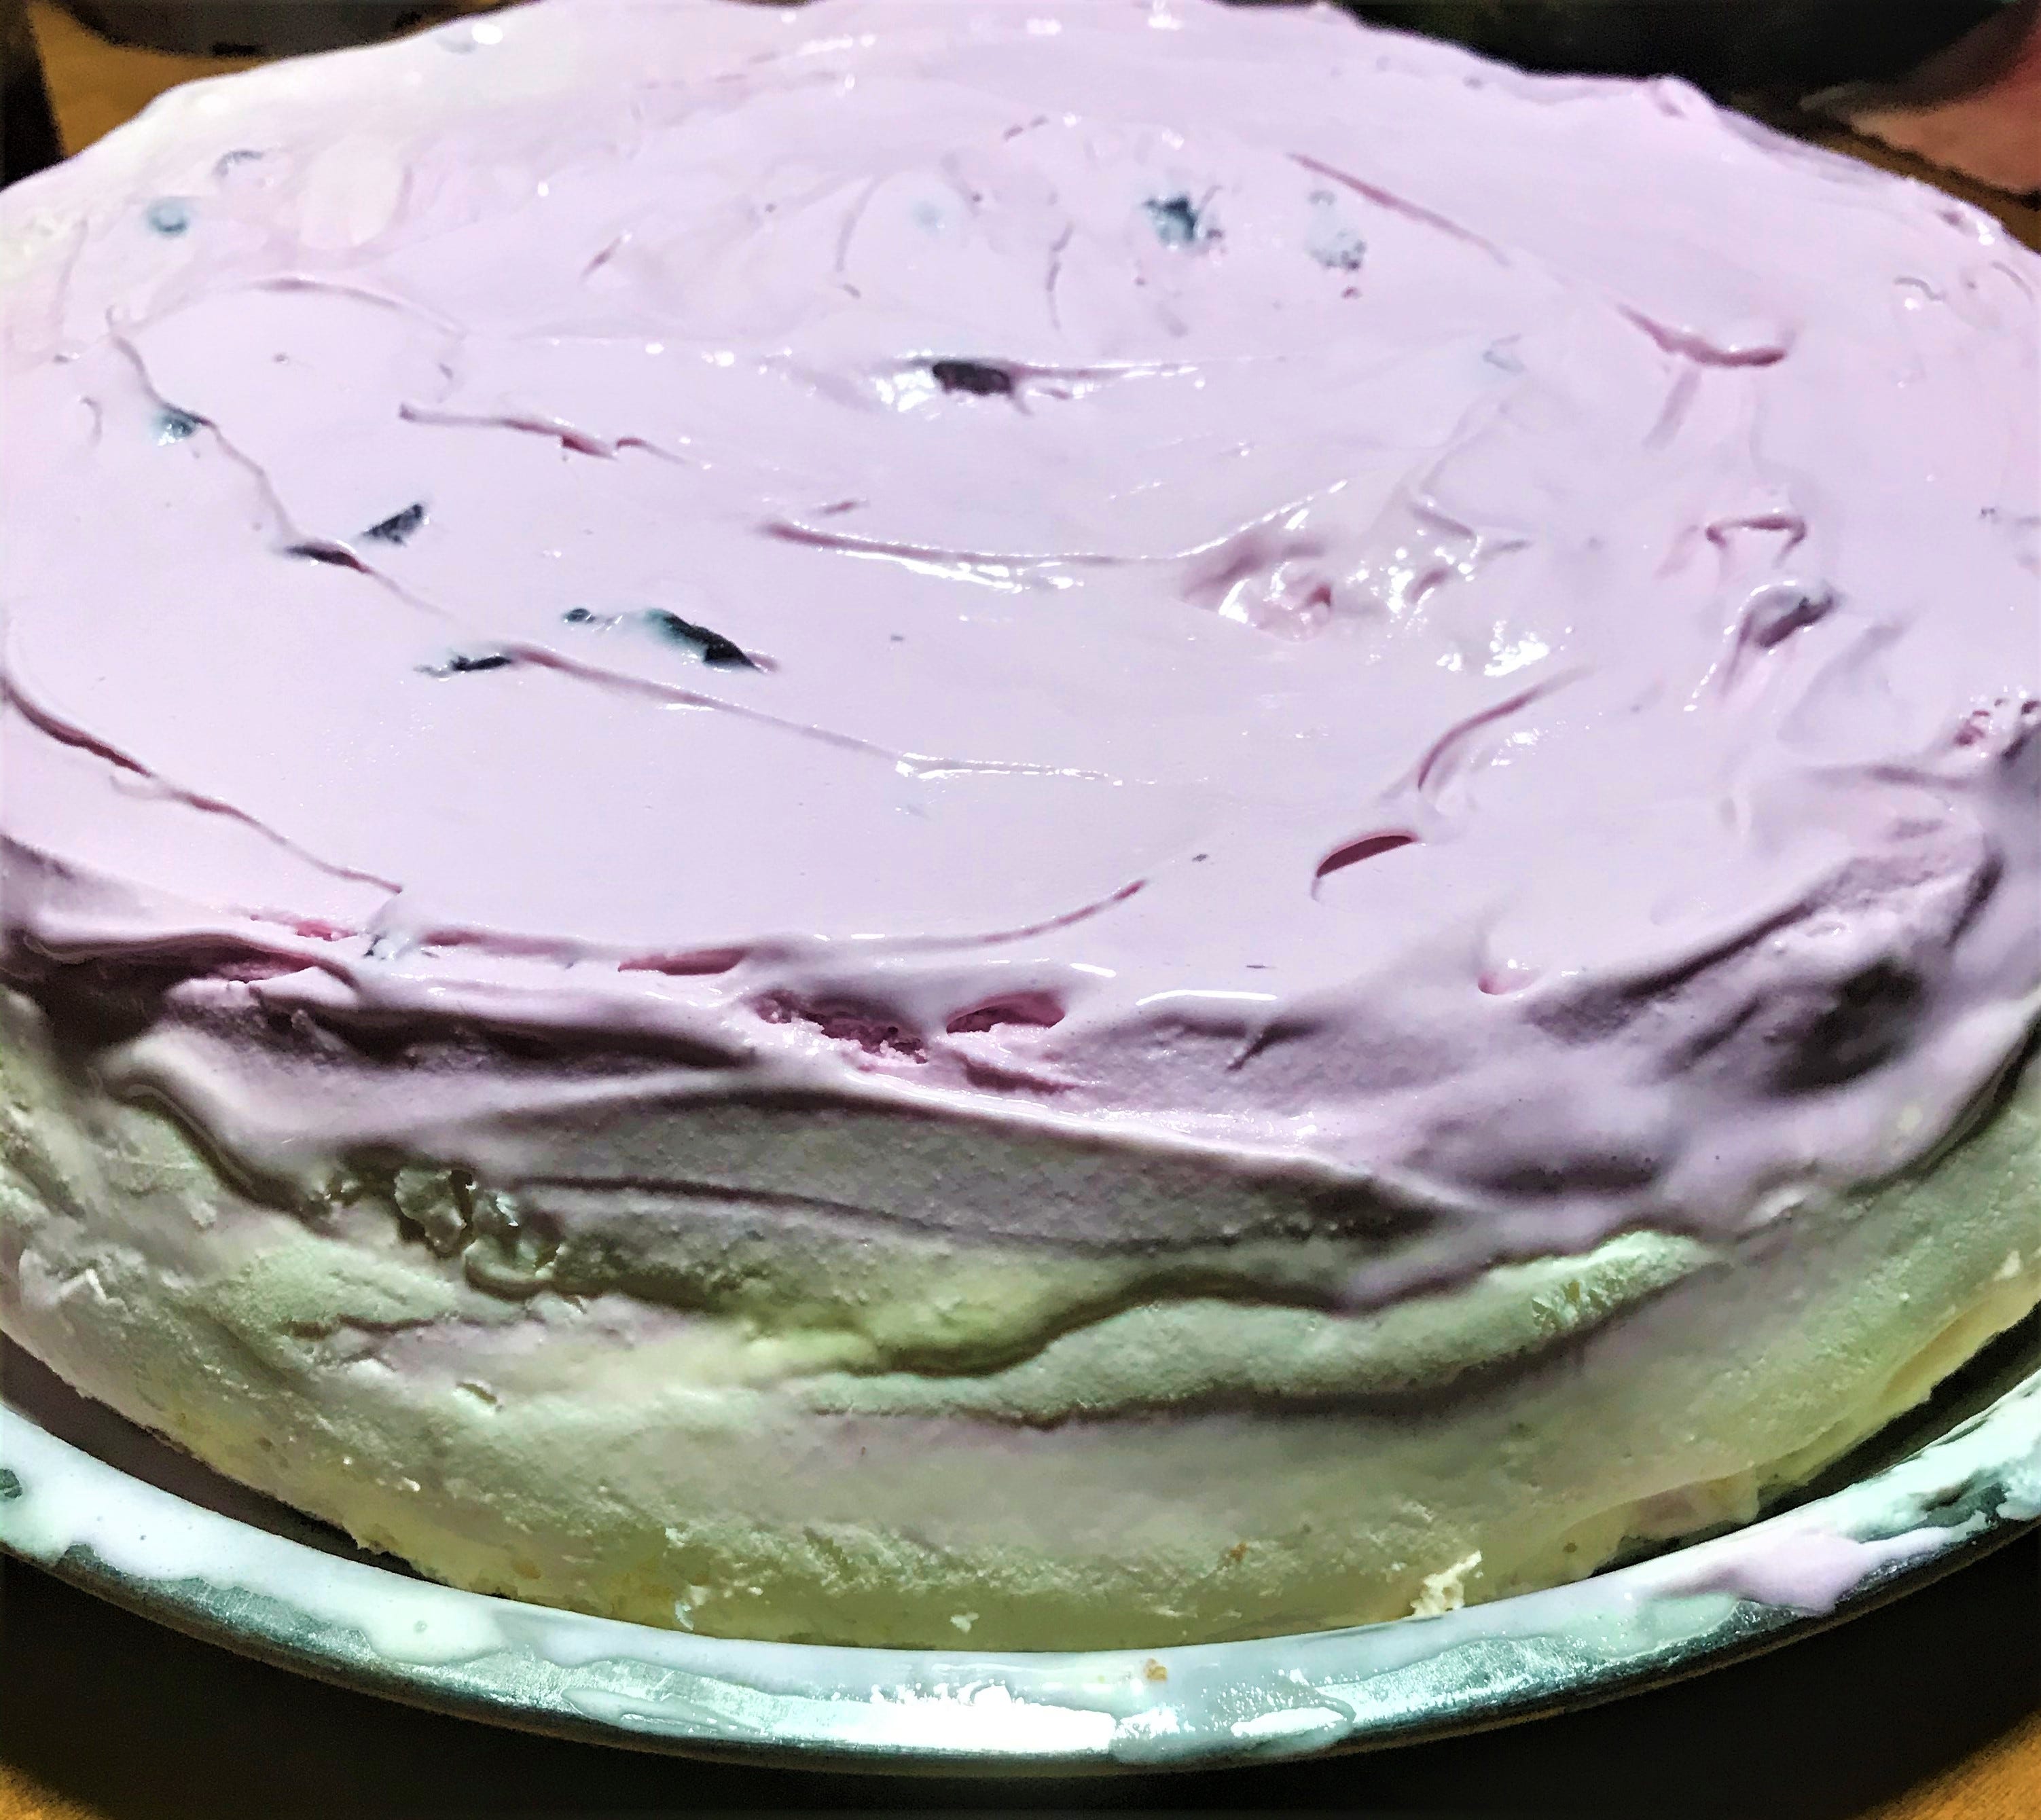
After adding Black Cherry ice cream…
…and a layer of rum-soaked raisins (fill jar half full with raisins to leave room for expansion, top with rum, keep well hidden in back of cupboard for one year ;)……
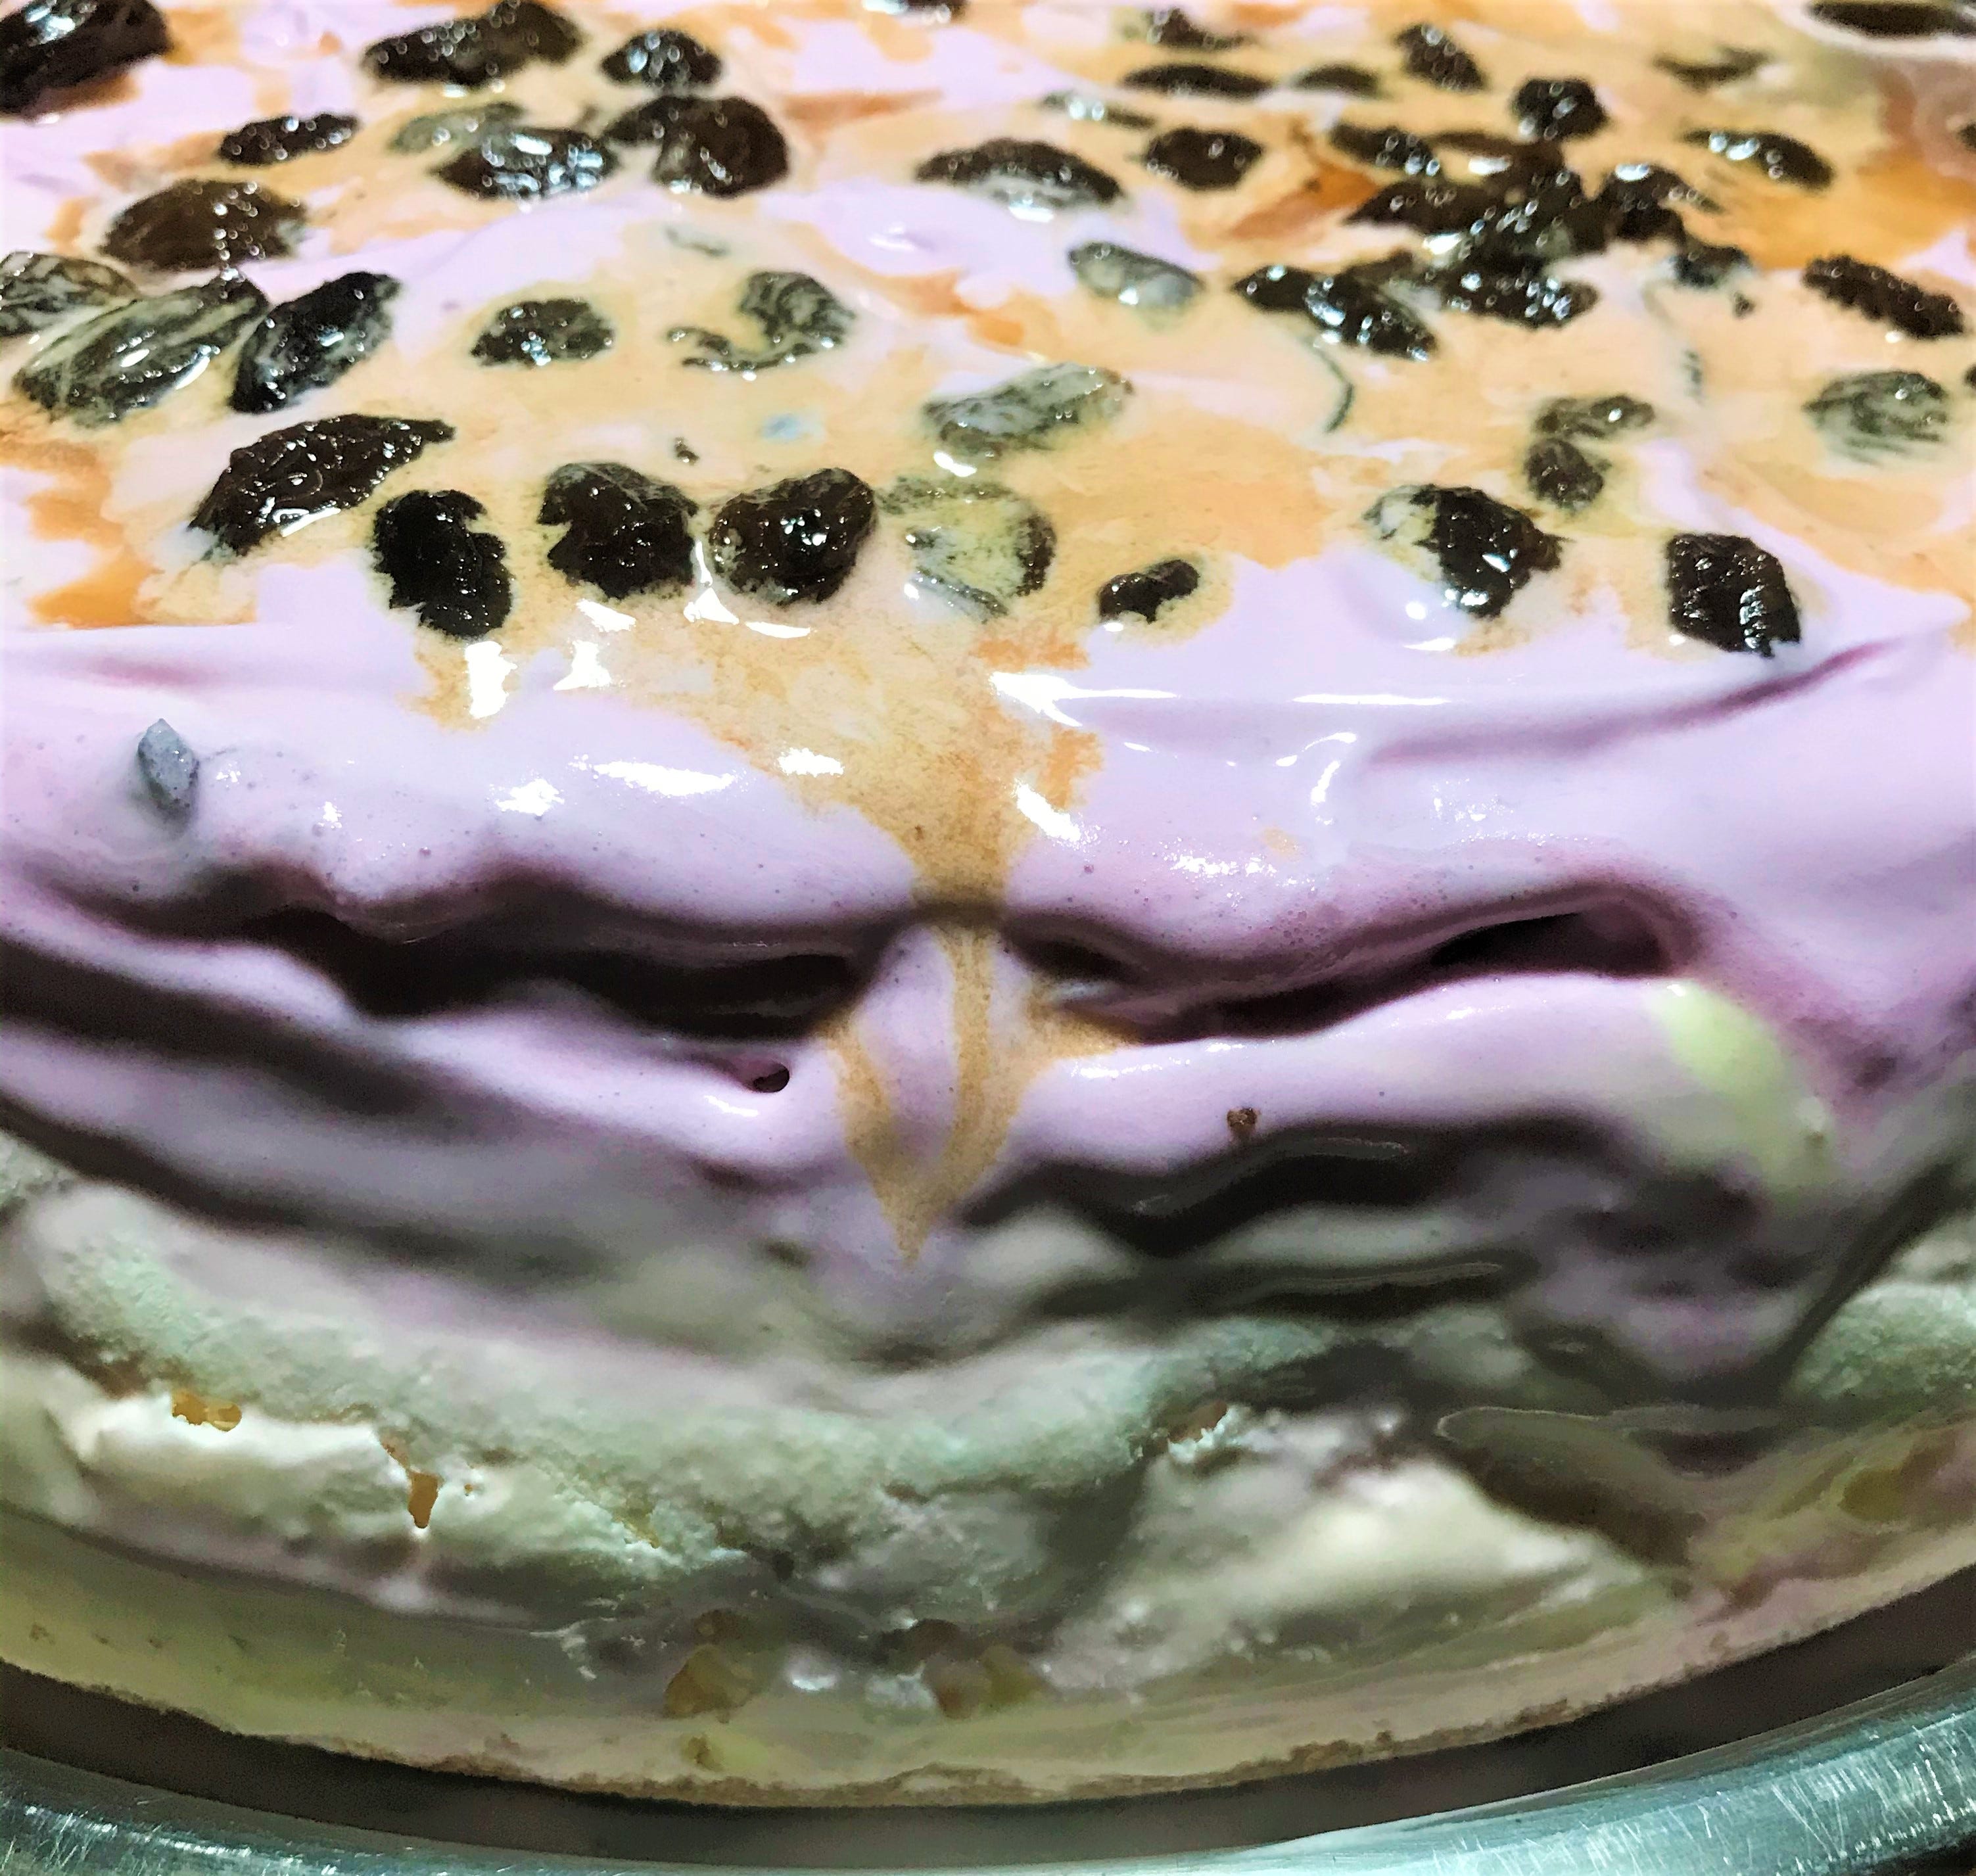
…it was time to start giving the cake more of a dome shape.
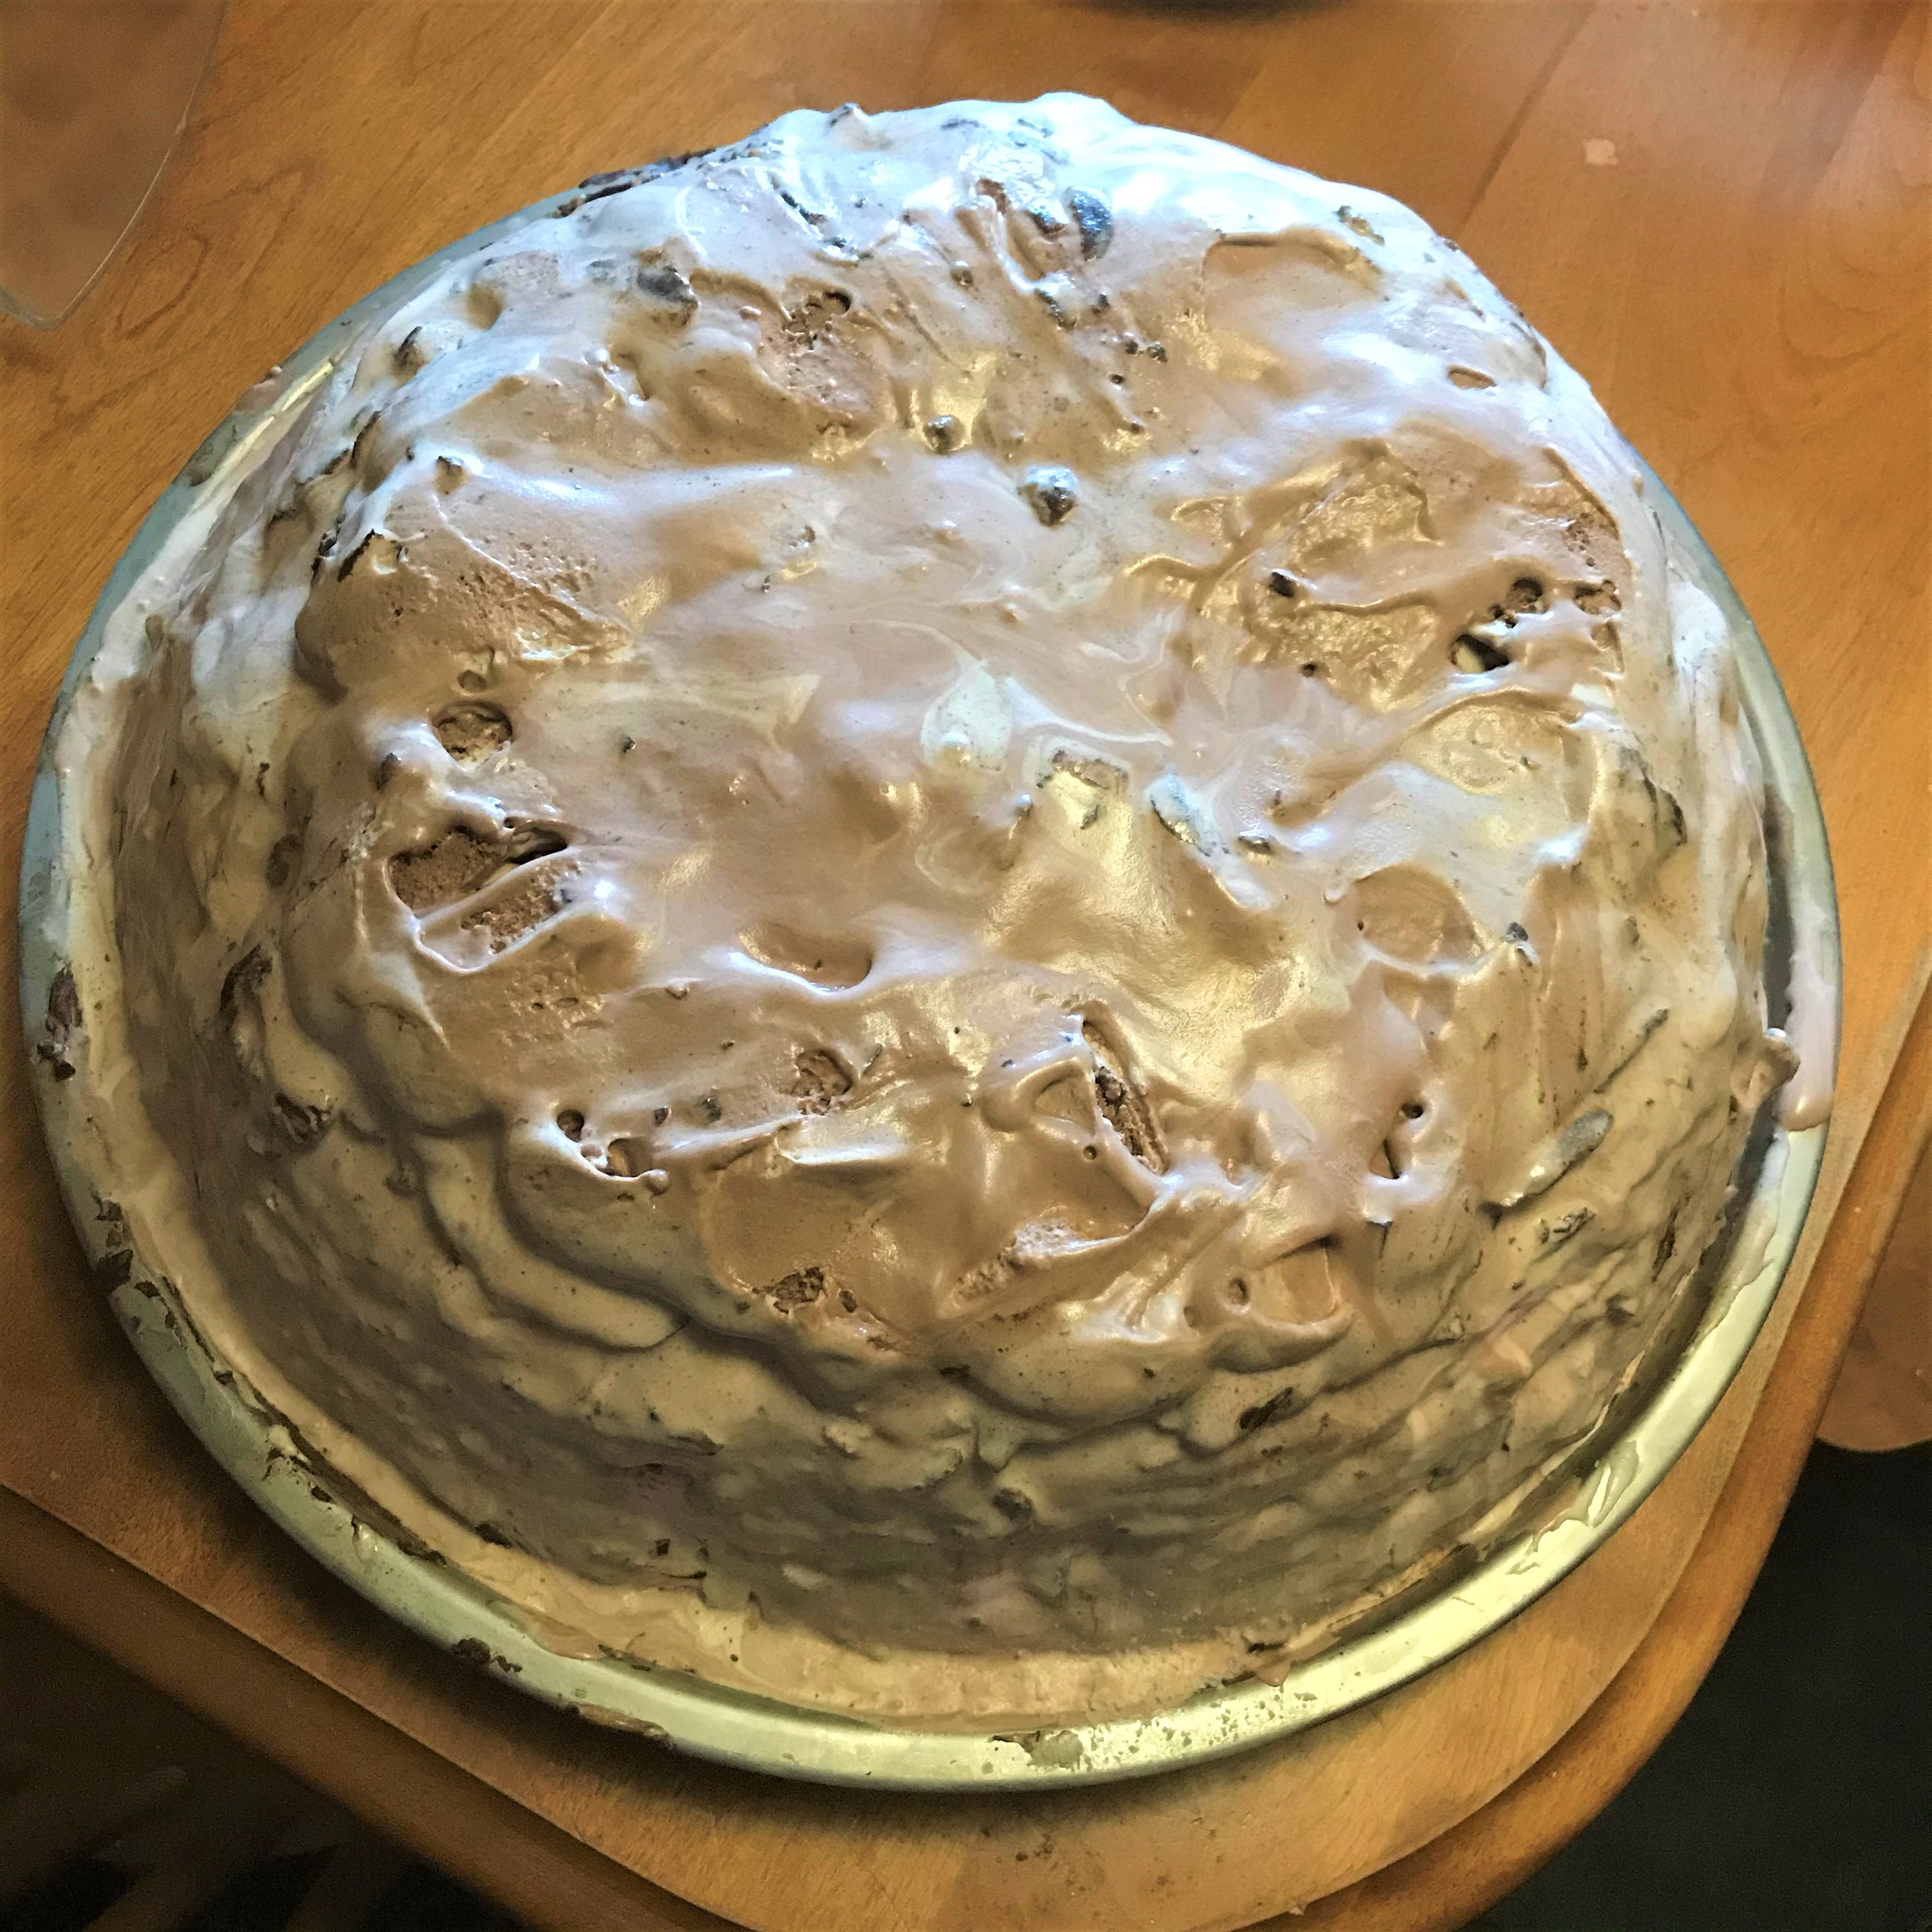
The final layers were Maple Walnut and Heavenly Hash, with a layer of homemade chocolate ganache in between. The hot chocolate melted the ice cream underneath and started to slide off the sides of my miniature ice cream mountain, kind of like a chocolate-dipped soft serve cone in the summertime. Gathering up a bit of ice cream and holding it underneath the flowing chocolate until the cooler layers underneath solidified it kept it from flowing right out of the pan onto the table (in most cases). :D
The result looks messy, until…
…the meringue is applied.
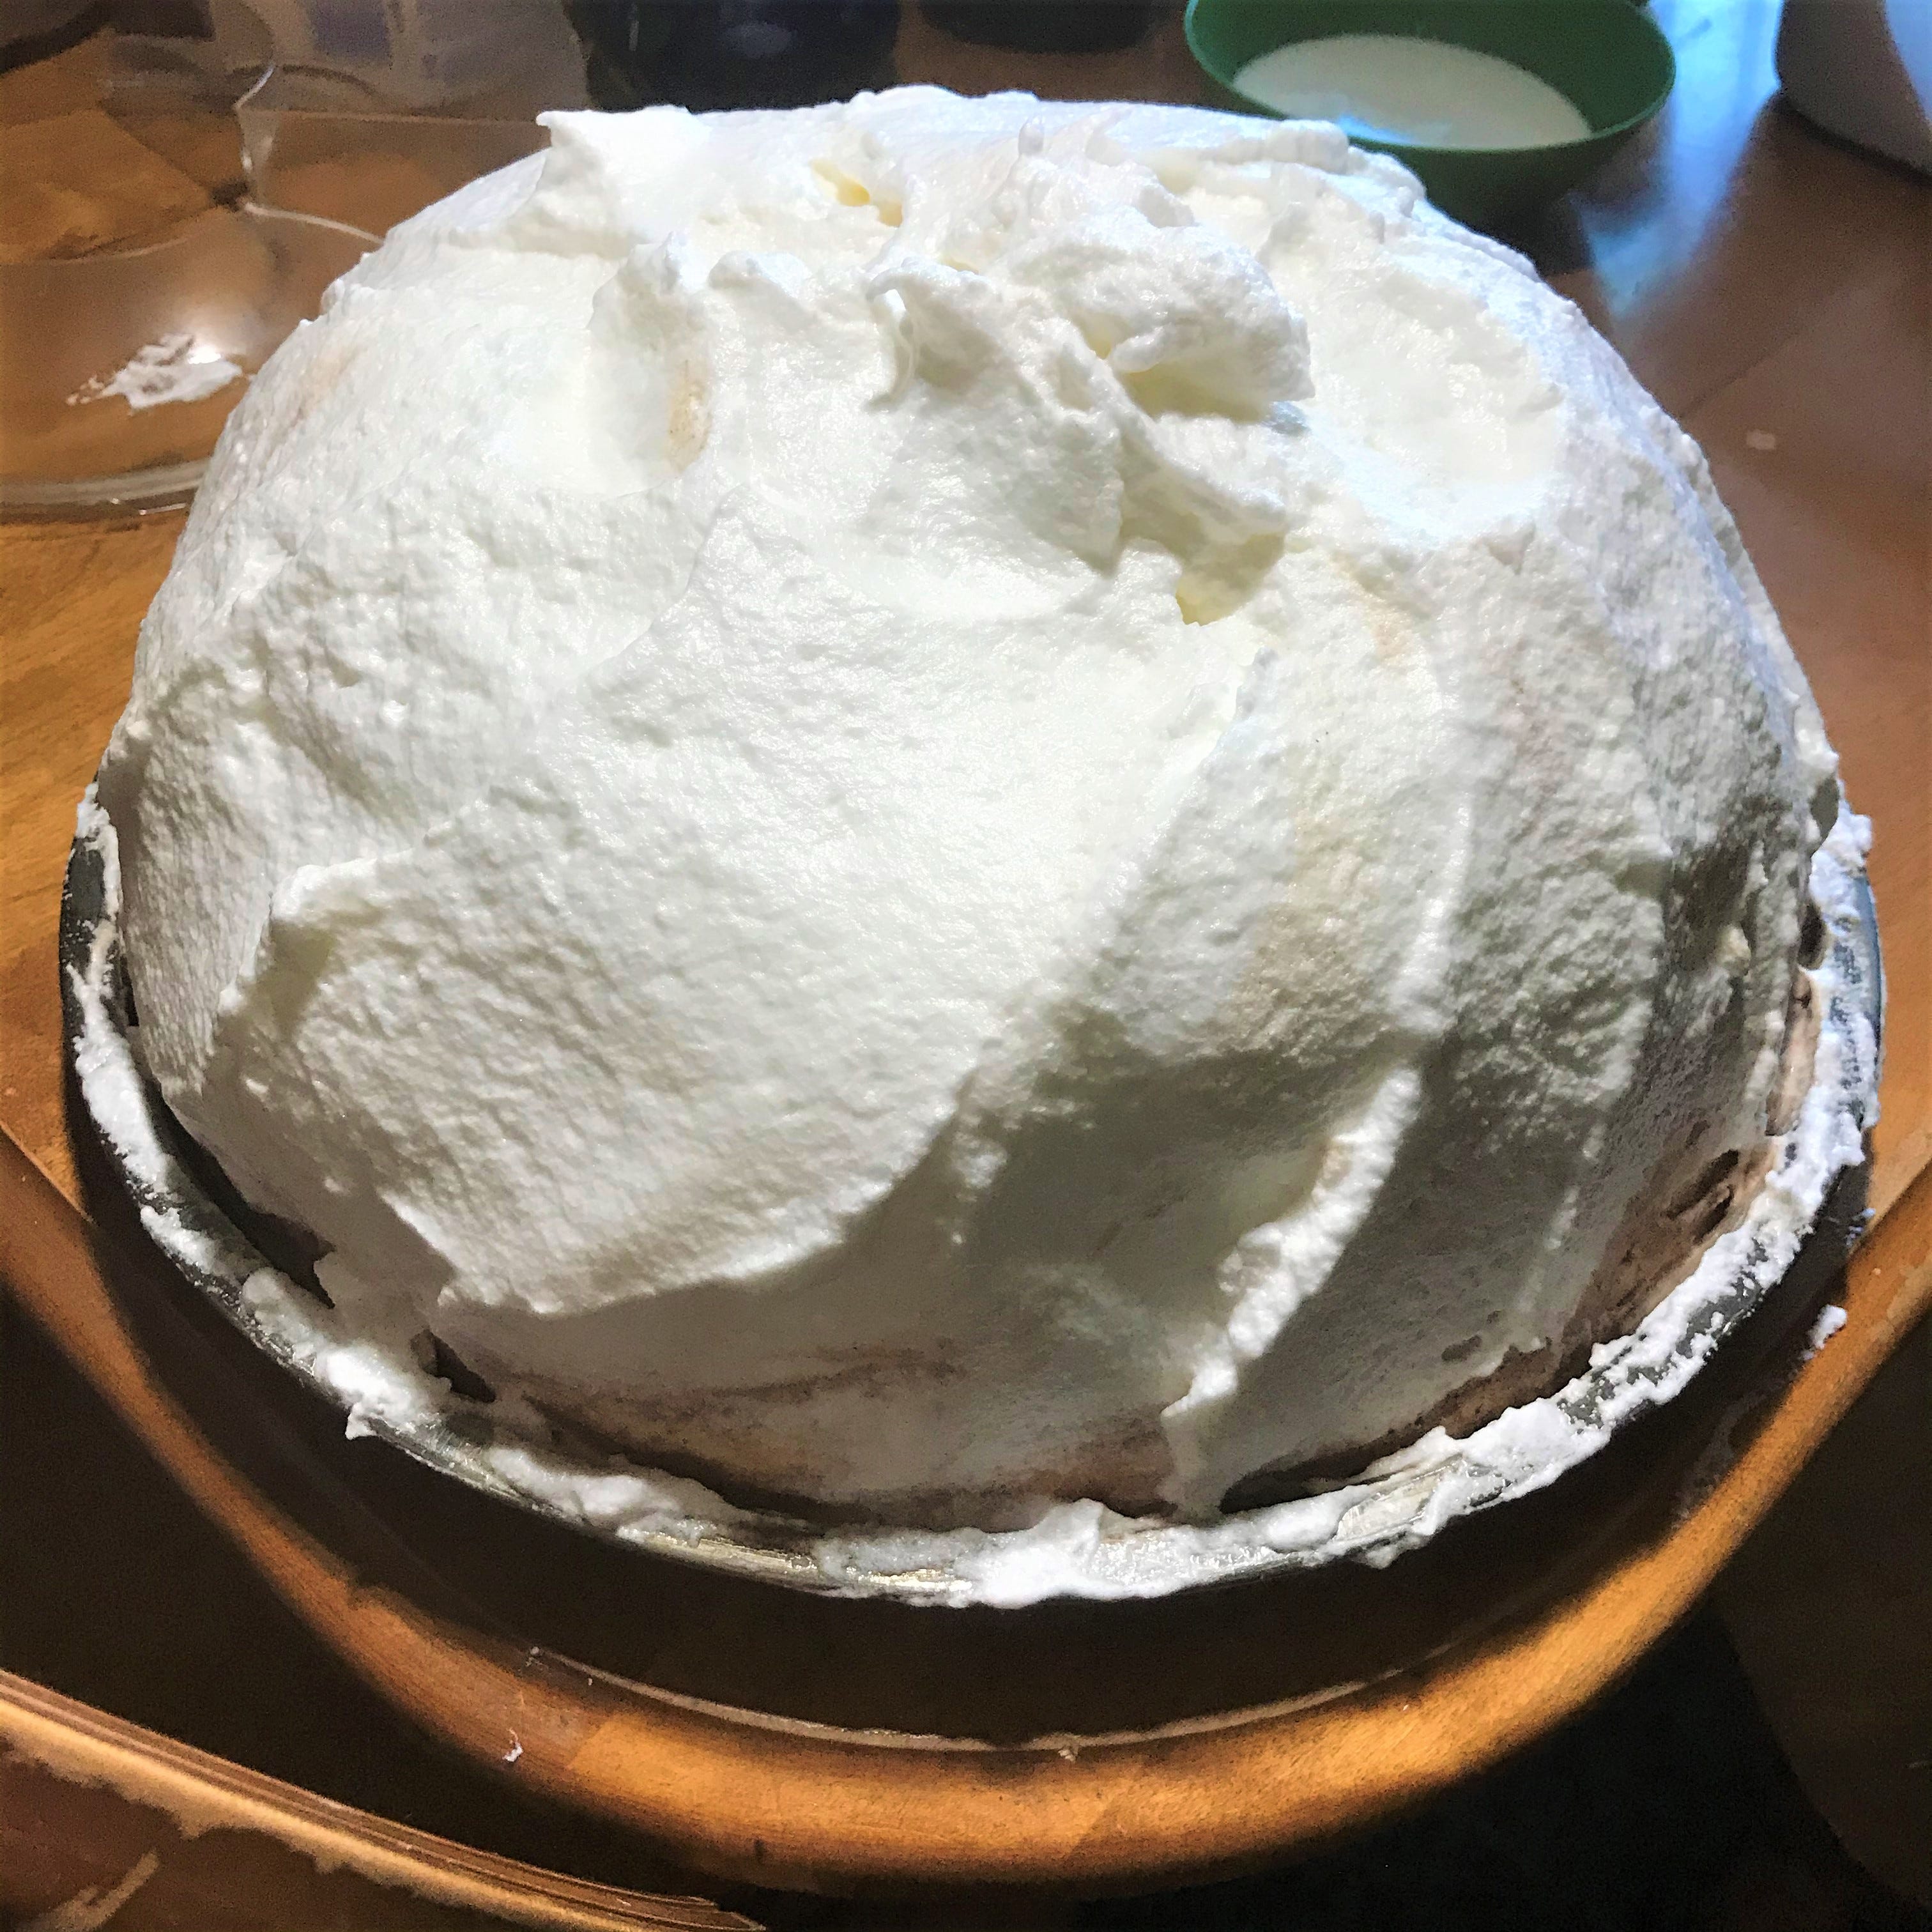
Using a soft, spoon-shaped silicone spatula made it easy to smooth the meringue up from the bottom, evening it out while creating some ridges and rough parts at the top to catch the rum when flambeing the cake.
Now, time to light the blowtorch. I like a simple, basic blowtorch with a dial adjustment. You get the knack for lighting it manually after awhile, and there is no button starter which might break at some really inconvenient moment.
I found it tricky to bake the meringue without slightly blackening it, but it turned out that this did not affect the taste at all. The meringue was slightly dried and solidified. Since I could not let it air dry (ice cream…), this really seemed like the best way to make the meringue receptive to being flambed.
I warmed a half cup of golden rum, poured it in a ladle, and lit it. It was easier to get it lit when it felt fairly warm to the touch, which happens quickly. Don’t turn your back or all the alcohol will have evaporated and you have to start over… :D For some reason, it was also more likely to stay lit by tilting the ladle before lighting it, rather than trying to tilt the ladle with the rum already lit.
The result: a slightly caramellized exterior of meringue with puddles of rum, and a rim of rum around the foot of the cake that starts to sink into the layers when you cut the cake.
Hmmmm…that’s what I want for my 98th birthday. ;)